DIY Kitchen Decor: 7 Smart Ideas!
Revamping your kitchen doesn’t always require a complete renovation. With a little creativity and some DIY spirit, you can transform your kitchen into a stylish and functional space. This article presents seven smart DIY ideas that will breathe new life into your kitchen without breaking the bank. From simple upgrades to more involved projects, these ideas cater to various skill levels and design preferences. Get ready to roll up your sleeves and create the kitchen of your dreams!
Smart Idea 1 Revamp Cabinets
One of the most impactful DIY projects is revamping your kitchen cabinets. This can dramatically change the look and feel of your kitchen, and it’s more affordable than replacing the entire cabinet system. Begin by assessing the condition of your cabinets. Are they structurally sound? If so, consider a fresh coat of paint or stain. This is a great way to modernize your kitchen and give it a fresh look.
Painting Cabinets
Painting your cabinets is a relatively straightforward DIY project. Start by removing the cabinet doors and drawers, and thoroughly clean the surfaces. Next, sand the cabinets to create a smooth surface for the paint to adhere to. Prime the cabinets to ensure the paint sticks well and to cover any existing stains or imperfections. Choose a durable cabinet paint in a color that complements your kitchen’s style. Apply two to three coats of paint, allowing each coat to dry completely before applying the next. This process requires patience, but the results are rewarding.
Adding New Hardware
Updating your cabinet hardware is a simple yet effective way to add personality and style. Replacing old knobs and pulls with new ones can instantly elevate the look of your cabinets. Consider different styles, such as modern, traditional, or rustic, to match your kitchen’s design. Measure the existing hardware to ensure the new hardware will fit. If the holes don’t align, you might need to fill the old holes and drill new ones. Installing new hardware is a quick and easy project that can make a significant difference.
Smart Idea 2 Open Shelving
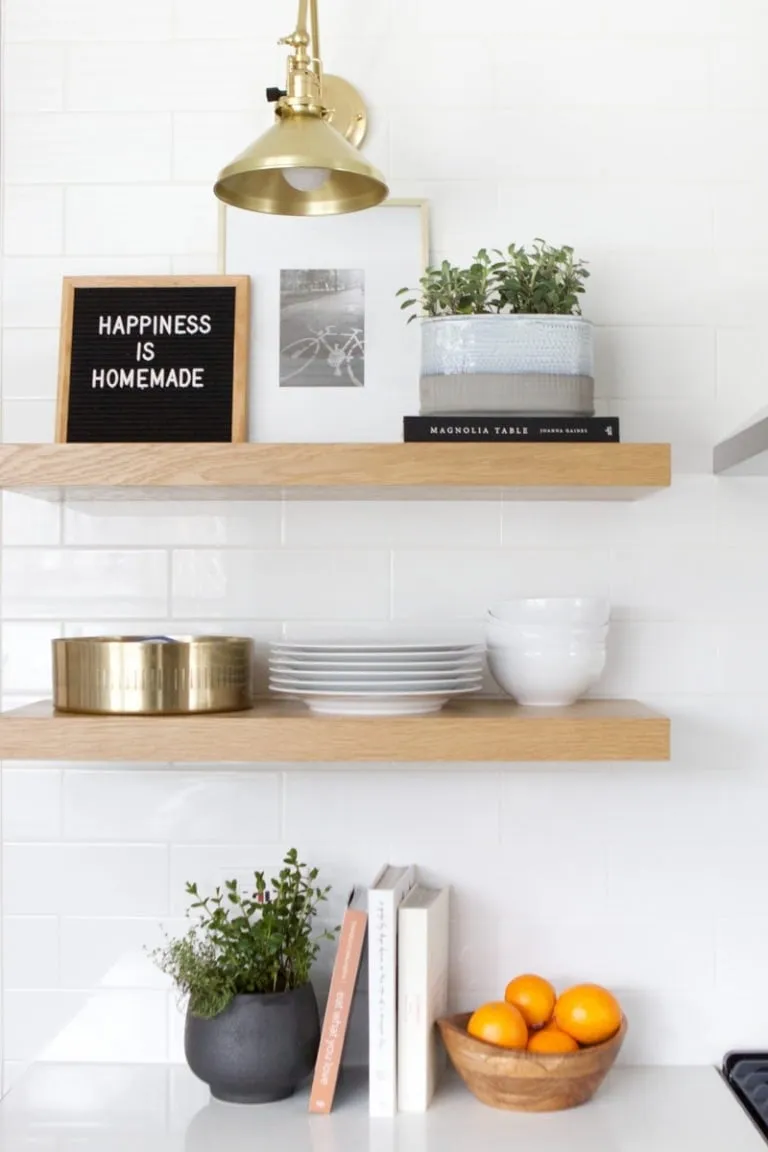
Open shelving is a stylish and functional alternative to upper cabinets. It creates a more open and airy feel in the kitchen, and it’s an excellent way to display your favorite dishes, cookbooks, and decorative items. Open shelves can also make your kitchen appear more spacious. There are several open shelving styles to consider, from simple floating shelves to more elaborate designs with brackets or supports.
Types of Shelving
Floating shelves are a popular choice, offering a clean and minimalist look. They are typically made of wood or metal and attach directly to the wall. Bracketed shelves provide more support and can accommodate heavier items. These shelves often feature decorative brackets that add visual interest. You can also consider corner shelves to maximize space utilization in your kitchen. When choosing shelving, think about the overall style of your kitchen and the items you want to display.
Installation Tips
Proper installation is crucial for ensuring the safety and longevity of your open shelving. Locate the wall studs to ensure that the shelves are securely anchored. Use appropriate hardware, such as screws and anchors, to attach the shelves to the wall. Ensure that the shelves are level before installing them. For floating shelves, follow the manufacturer’s instructions carefully. Be sure to consider the weight capacity of the shelves and avoid overloading them. Install shelves at a comfortable height, taking into account the items you plan to store on them.
Smart Idea 3 Backsplash Transformation
A new backsplash can instantly revitalize your kitchen. It protects the walls from spills and splatters, and it serves as a focal point that enhances your kitchen’s design. There are numerous DIY-friendly backsplash options available, from peel-and-stick tiles to classic ceramic tiles. Select a backsplash material that complements your kitchen’s color scheme and style. Remember that the backsplash is a great opportunity to introduce color, pattern, and texture.
DIY Backsplash Options
Peel-and-stick tiles are an excellent choice for beginners. They are easy to install, require no grout, and come in a wide variety of styles. Ceramic tiles offer a more traditional look. You’ll need a tile cutter and grout, but the process is still manageable for DIYers. Consider mosaic tiles for a more intricate design. These tiles are often pre-mounted on mesh sheets, making installation easier. Before starting, carefully measure the area and plan your layout to minimize cuts and waste.
Applying Backsplash
If using ceramic tiles, prepare the wall by ensuring it is clean and flat. Apply thin-set mortar to the wall using a notched trowel. Place the tiles carefully, using spacers to maintain even grout lines. Once the mortar is dry, apply grout to fill the gaps between the tiles. Clean the grout with a damp sponge and allow it to dry. For peel-and-stick tiles, simply peel off the backing and apply the tiles directly to the wall. Ensure the surface is clean and dry before applying the tiles. Use a level to ensure that the tiles are straight.
Smart Idea 4 Decorate with Plants
Adding plants is a simple yet effective way to bring life and freshness into your kitchen. Plants not only add aesthetic appeal but also purify the air. Choose plants that thrive in the kitchen environment, considering factors like humidity and lighting. Place the plants strategically to enhance the space and create a welcoming atmosphere. Small plants on the windowsill, hanging plants, or plants on the countertop add a touch of green that brightens any kitchen.
Choosing the Right Plants
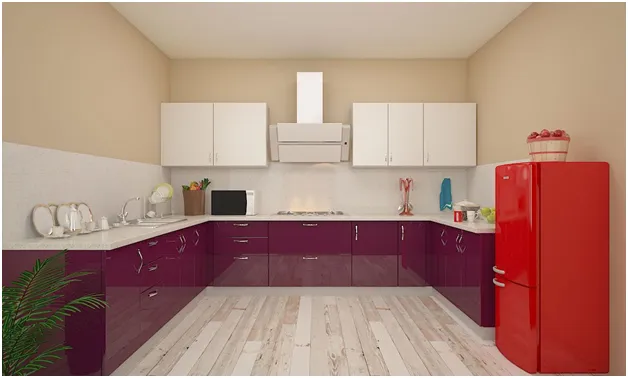
Select plants that are well-suited to your kitchen’s conditions. Low-light plants, such as snake plants, ZZ plants, and pothos, are excellent choices for kitchens with limited natural light. Herbs like basil, mint, and rosemary can be grown on a sunny windowsill, providing fresh ingredients for your cooking. Consider succulents and cacti for their low-maintenance nature. Be mindful of the humidity levels in your kitchen, and choose plants that can tolerate those conditions.
Plant Placement
Strategically place plants to enhance your kitchen’s design. Put a small herb garden on a sunny windowsill. Hang trailing plants like pothos or spider plants from the ceiling or cabinets. Use plants to decorate open shelves, countertops, or the kitchen island. Group plants of varying sizes and textures to create visual interest. Ensure the plants are easily accessible for watering and maintenance.
Smart Idea 5 Add a Kitchen Island
A kitchen island provides additional workspace and storage, and it can serve as a focal point in your kitchen. If you have the space, adding a kitchen island can significantly improve your kitchen’s functionality and aesthetics. If space is limited, consider a smaller island or a rolling cart. Determine how you will use the island to select the appropriate size and features.
Types of Kitchen Islands
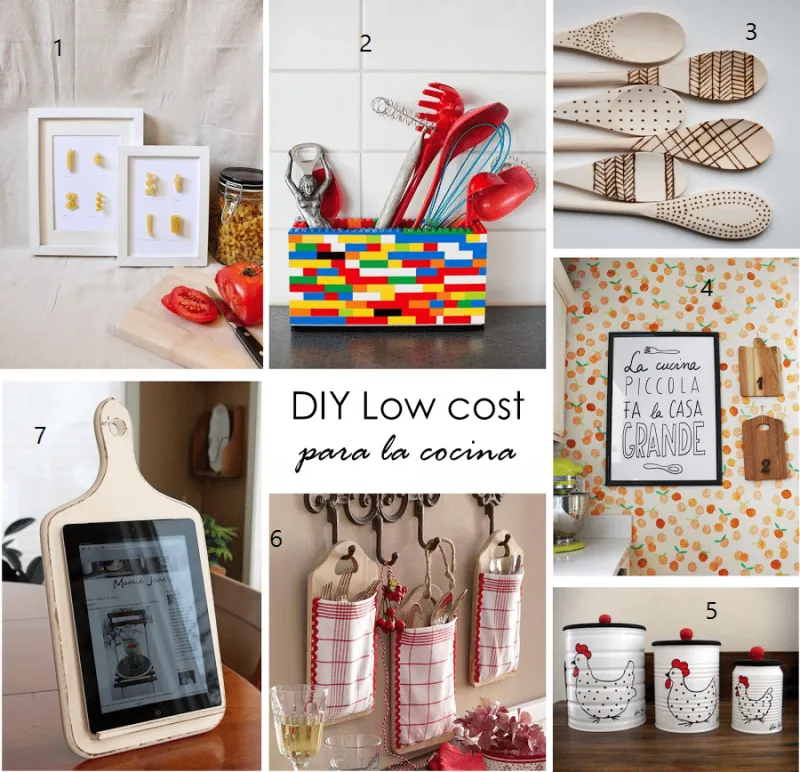
Fixed kitchen islands are permanently installed and provide the most storage and counter space. Rolling kitchen islands offer flexibility and can be moved around as needed. Consider islands with built-in storage, such as drawers, cabinets, and open shelving. Some islands also feature breakfast bars or seating areas. Choose an island style that complements your kitchen’s design and meets your needs.
DIY Kitchen Island
Building your own kitchen island can be a rewarding DIY project. You can repurpose an old dresser or cabinet as the base, adding a countertop and storage. Purchase a pre-made island kit for a more straightforward project. Consider using butcher block or laminate for the countertop. Ensure the island is the appropriate height for comfortable use. Customize the island with paint, hardware, and storage solutions to match your kitchen’s style. Proper planning and careful execution are essential for a successful outcome.
Smart Idea 6 Create a Coffee Station
A coffee station provides a dedicated space for making and enjoying your morning coffee or afternoon tea. It keeps all your coffee-making essentials organized and easily accessible. Set up a coffee station in a corner, on a countertop, or within a small cabinet. This is a great way to add function and design.
Coffee Station Essentials

Gather all the items you need for making coffee, such as your coffee maker, coffee beans or grounds, filters, mugs, and spoons. Include sugar, cream, and any other flavorings you enjoy. Add storage for coffee beans, pods, or tea bags. Consider adding a small electric kettle for hot water. Ensure there’s an electrical outlet nearby. Organize the station to make your coffee-making routine efficient and enjoyable.
Decorating a Coffee Station
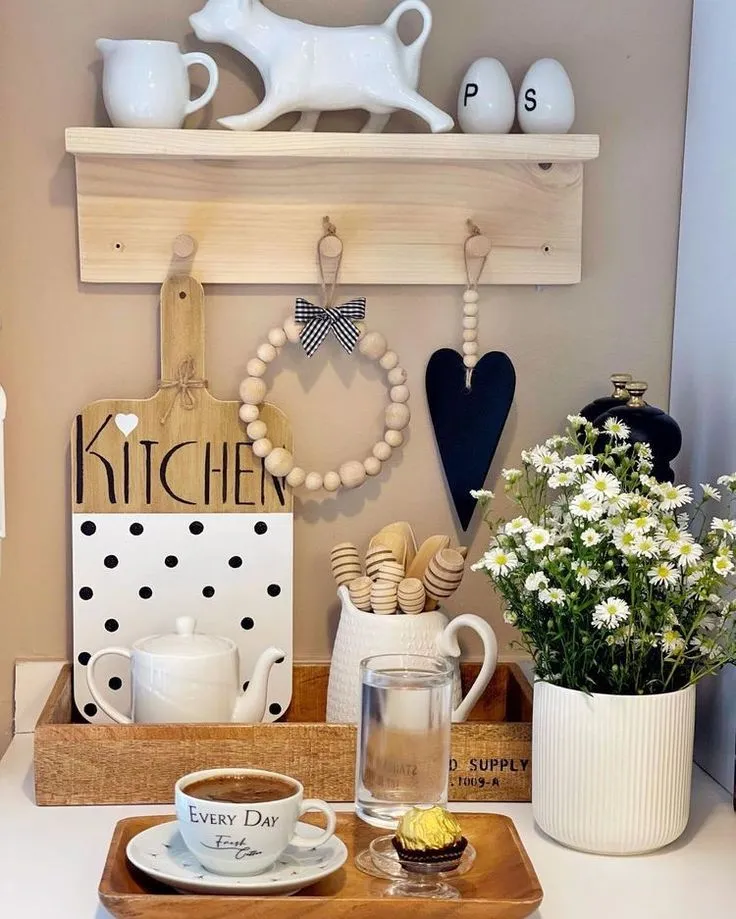
Personalize your coffee station with decorative items. Add a small tray to hold your coffee maker and accessories. Display mugs on a mug rack or shelf. Include a small plant to bring in a touch of nature. Add a decorative sign or artwork that reflects your style. A well-designed coffee station can be both functional and aesthetically pleasing, becoming a highlight in your kitchen.
Smart Idea 7 Update Lighting Fixtures
Lighting plays a crucial role in the overall ambiance and functionality of your kitchen. Replacing old or outdated lighting fixtures can make a significant impact. It’s a relatively easy DIY project. Consider the type of lighting you need, such as task lighting, ambient lighting, and accent lighting. Choosing the right lighting can create a more inviting space.
Types of Lighting
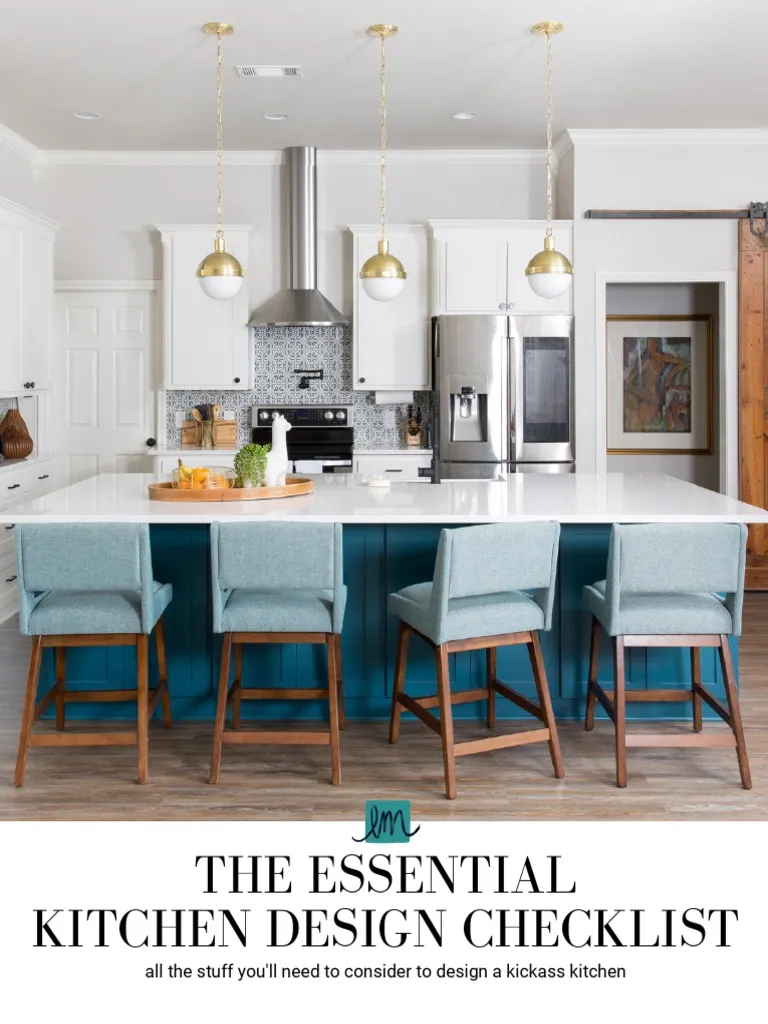
Task lighting, like pendant lights above the island or under-cabinet lighting, illuminates work surfaces. Ambient lighting, such as recessed lighting or a chandelier, provides overall illumination. Accent lighting, like spotlights or track lighting, highlights specific features or decorative elements. Choose lighting fixtures that complement your kitchen’s style and provide adequate illumination for all activities.
Installing New Lights
Before starting, turn off the power to the circuit at the breaker box. Carefully remove the old fixture, disconnecting the wires and securing them safely. Install the new fixture according to the manufacturer’s instructions, ensuring the wires are properly connected and secured. If you are not comfortable with electrical work, consult a qualified electrician. Consider using energy-efficient LED bulbs to save energy and reduce your electricity bill.
By implementing these seven DIY ideas, you can transform your kitchen into a more stylish and functional space. Remember to plan your projects carefully, gather the necessary materials, and follow the instructions diligently. Whether you’re revamping cabinets, adding open shelving, or updating lighting, these DIY projects will allow you to personalize your kitchen to your exact needs. Embrace the DIY spirit and create the kitchen of your dreams!
