DIY Kitchen Decor
Transforming your kitchen doesn’t always require a complete remodel or breaking the bank. With a little creativity and some elbow grease, you can achieve stunning results with DIY kitchen decor. This guide provides you with four easy steps to revitalize your kitchen space. These projects are designed to be manageable for all skill levels, bringing a fresh, personalized look to the heart of your home. Get ready to roll up your sleeves and create a kitchen you’ll love.
Gather Your Supplies
Before you begin any DIY project, it’s essential to gather all the necessary supplies. This preparation ensures a smooth workflow and prevents interruptions. Depending on your chosen projects, the materials will vary. However, a well-stocked toolkit is always a good starting point. Prioritize high-quality tools and materials, as they contribute to the longevity and overall look of your DIY kitchen decor. Planning ahead allows you to focus on the fun part of decorating.
List of supplies
- Paint (for cabinets)
- Paintbrushes and rollers
- Painter’s tape
- Backsplash tiles
- Adhesive or mortar for backsplash
- Grout and grout float
- Wood for floating shelves
- Shelf brackets
- Sandpaper
- Drill and screws
Step 1 Paint Your Kitchen Cabinets
One of the most impactful DIY kitchen decor projects is painting your cabinets. This simple change can dramatically alter the look and feel of your kitchen. Before you begin, clean the cabinets thoroughly to remove any grease or grime. Then, lightly sand the surfaces to promote paint adhesion. Applying a primer is crucial for achieving a smooth, durable finish. Choose a cabinet paint that is specifically designed for high-traffic areas to withstand daily use. Take your time, and apply thin, even coats for the best results, and you’ll love the results.
Materials needed
- Cabinet paint (satin or semi-gloss finish)
- Primer (specifically for cabinets)
- Sandpaper (medium and fine grit)
- Degreaser
- Paintbrushes and rollers (foam rollers recommended)
Instructions
- Remove cabinet doors and drawers.
- Clean the cabinets with degreaser.
- Sand the surfaces lightly.
- Apply primer and let it dry completely.
- Apply two coats of cabinet paint, allowing each coat to dry thoroughly.
- Reinstall doors and drawers.
Step 2 Add a Backsplash
A new backsplash can add a touch of personality and functionality to your kitchen. There are various options, from classic ceramic tiles to modern mosaic designs. Consider your kitchen’s overall style when choosing a backsplash. Measure the area carefully to determine the amount of tile you’ll need, plus extra for cuts and any breakage. You can use pre-mixed adhesive for smaller projects or mortar for larger ones. Make sure the surface is clean and even before applying the adhesive. A level and tile spacers are essential for a professional-looking finish. Give this a try and you’ll have a stunning kitchen in no time.
Backsplash options
- Ceramic tiles
- Glass tiles
- Mosaic tiles
- Subway tiles
- Peel-and-stick tiles (for easy installation)
How to Install a Backsplash
- Measure and mark the area.
- Apply adhesive or mortar.
- Place tiles using tile spacers.
- Let the adhesive dry completely.
- Apply grout and remove excess.
- Clean the tiles.
Step 3 DIY Floating Shelves
Floating shelves provide both storage and a decorative element to your kitchen. They can be customized to fit your space and style. Choose the right type of wood and finish it according to your preference. Measure your wall and cut the wood to the desired length. Install shelf brackets securely on the wall, ensuring they are level. Slide the shelves onto the brackets and secure them. This project is a great way to showcase your favorite kitchen items, like cookbooks, plants, or decorative pieces. The results will be worth it.
Materials for Floating Shelves
- Wood planks (pine, oak, or a wood of your choice)
- Shelf brackets
- Screws
- Level
- Sandpaper
- Wood stain or paint (optional)
Building the shelves
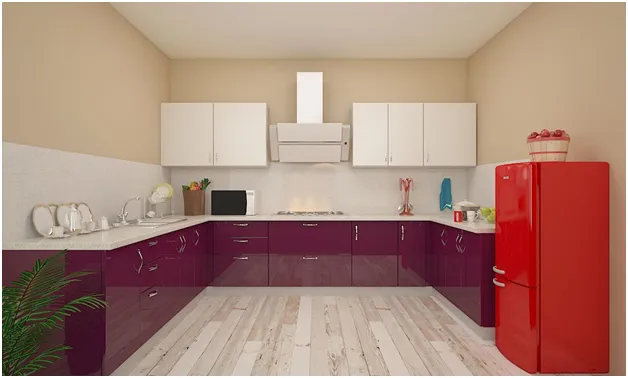
- Cut the wood to the desired length.
- Sand the wood to smooth the edges.
- Stain or paint the wood (optional).
- Install shelf brackets onto the wall.
- Slide the shelf onto the brackets and secure.
Step 4 Accessorize with DIY Decor
The final step is to add personal touches with DIY decor. This is where you can really express your creativity and style. Consider making your own kitchen towels, creating a custom spice rack, or upcycling old jars into utensil holders. Even small additions like a new set of curtains or a decorative fruit bowl can make a big difference. DIY decor is a cost-effective way to personalize your kitchen and make it feel more inviting. By finishing it with decor, you’ll make your kitchen a place that reflects your unique style.
DIY decor ideas
- Painted mason jar utensil holders
- DIY kitchen towel sets
- Custom spice rack
- Upcycled picture frame menu board
- Hand-painted signs for the kitchen
Adding finishing touches
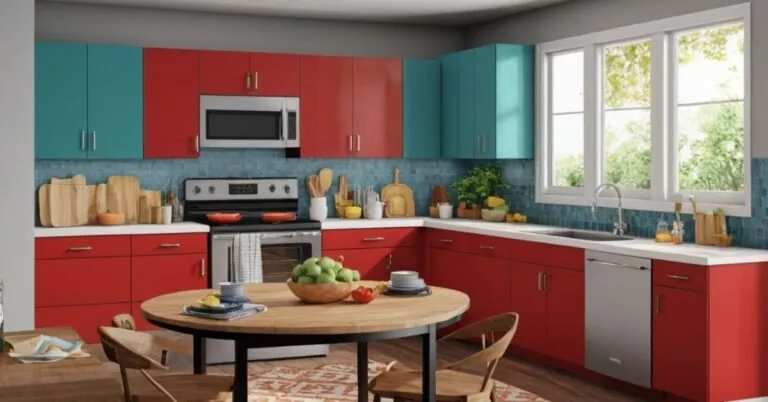
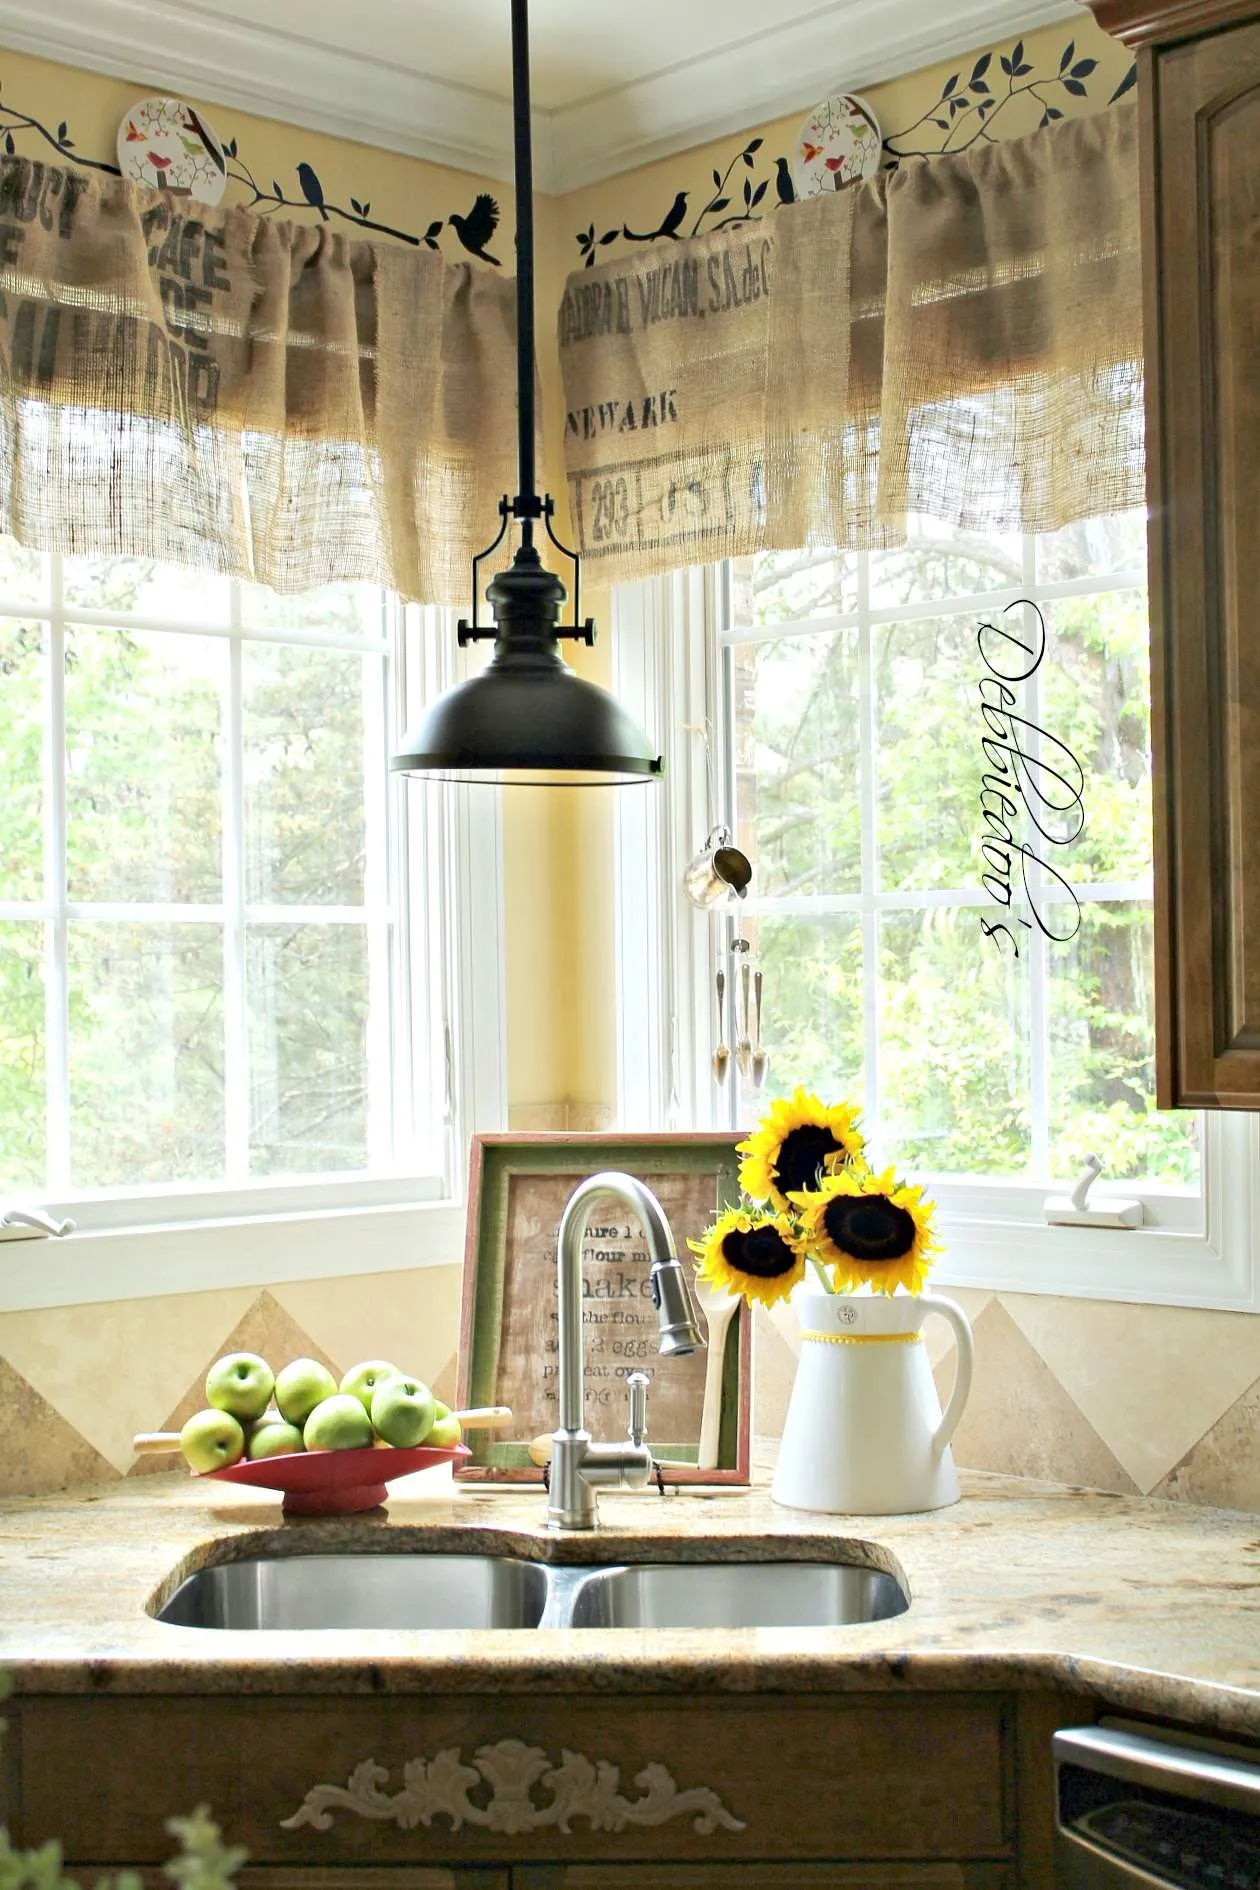
- Add a new set of curtains
- Change the cabinet hardware
- Add a decorative fruit bowl
- Use plants for decor
